Bitdefender is one of the top anti-malware suites which are famous for providing top quality services to the users. It provides the most advanced tools which secure your device as well as your network. Bitdefender works reliably on every device. The smart-scan feature of Bitdefender assures you that your device is fully secure from all malware threats lurking around your device. But many Windows users reported that they are facing queries while installing Bitdefender on Windows 10. However, there are some solutions which can help to fix the installation error.
Things to check before installing Bitdefender on Windows 10:
- Make sure you don’t have any security software installed on the Windows device.
- Clean your browser junk. Remove browser history, cache, and cookies. Clean out all temporary files and junk files.
- Choose the Bitdefender suite which is compatible with your OS.
Here are some solutions for fixing the Bitdefender Installation Error:
Remove other security software from your device
You can face installation error if you have any security software installed on the device. It might be possible that your old security software is not allowing your device to install Bitdefender. This issue can also encounter even when you have an older version of Bitdefender in your system. Sometimes people uninstall the software but your device has stored software related files. These files can also create installation error. You should uninstall the older version of Bitdefender from the device.
- Go to the Bitdefender website.
- Search for Bitdefender Uninstaller
- Download the setup and then follow the given on-screen commands for uninstalling Bitdefender
- This tool removes every Bitdefender file from your device. Now install other security software from your device.
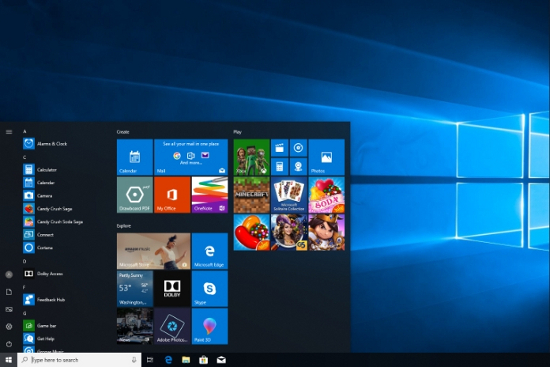
- Go to the Start menu
- Click on Settings
- Hit the Apps button
- Choose Installed Apps
- Choose the software from the list you want to uninstall.
- Now you can install Bitdefender on Windows 10.
Disable Windows Defender Real-Time Protection
Your Windows provides an in-built security program for real-time protection. But sometimes, this security program creates issues while installing other security software. If so, you have to disable the inbuilt Windows security program before installing Bitdefender.
Here are the steps for disabling Windows Real-Time Protection:
- Go to start menu
- Click on Settings
- Open Update and Security
- Click on Windows Security
- Hit the Virus and Threat Protection
- Now scroll down and choose Manage Settings
- Disable Real-time protection.
- Now, restart your device and try to install Bitdefender.
Use Bitdefender Repair Tool
Bitdefender provides an inbuilt tool which is designed for resolving common Bitdefender errors. If you are planning to upgrade the Bitdefender suite but your device is not allowing you then try running Bitdefender repair tool. Follow the steps given below for running Bitdefender repair tool:
- Close all the running programs
- Now Hit Windows Key and R keys simultaneously
- Type Control
- Hit OK button
- Go to Programs
- Choose Program and Features
- Click on Bitdefender
- Hit the Uninstall button
- Now follow on-screen instruction of Bitdefender repair tool
- Restart your device and reinstall Bitdefender.
The provided solutions will easily resolve your Installation error. But if you are still facing issues while installing this security software; contact Bitdefender for best technical help support.


Comments 1